

This illustrated guide walks through Light Bee controller installation, including controller positioning, phase wire connections, signal plugs, main lead routing, cover refitment, and final checks.
Quick Summary
- Estimated time: 30-60 minutes
- Difficulty: Intermediate to advanced
- Core caution: Power off first, match wire colors, and tighten mounting points carefully.
Safety Notice
The controller connects the high-current main leads, phase wires, and signal harness. Power off the bike and disconnect the battery before installation. Do not short the positive and negative terminals. Stop immediately if you notice sparking, odor, heat, or loose connectors.
Preparation
- Power off the bike and disconnect the battery before handling the controller or power leads.
- Prepare basic hand tools, cable ties, and any mounting hardware supplied with the controller kit.
- Inspect the controller housing, mounting ears, phase wires, main leads, and signal connectors.
- Use the actual controller manual for torque values, compatibility notes, and connector specifications not visible in the video.
Step-by-Step Installation
Step 01. Inspect the controller and harness
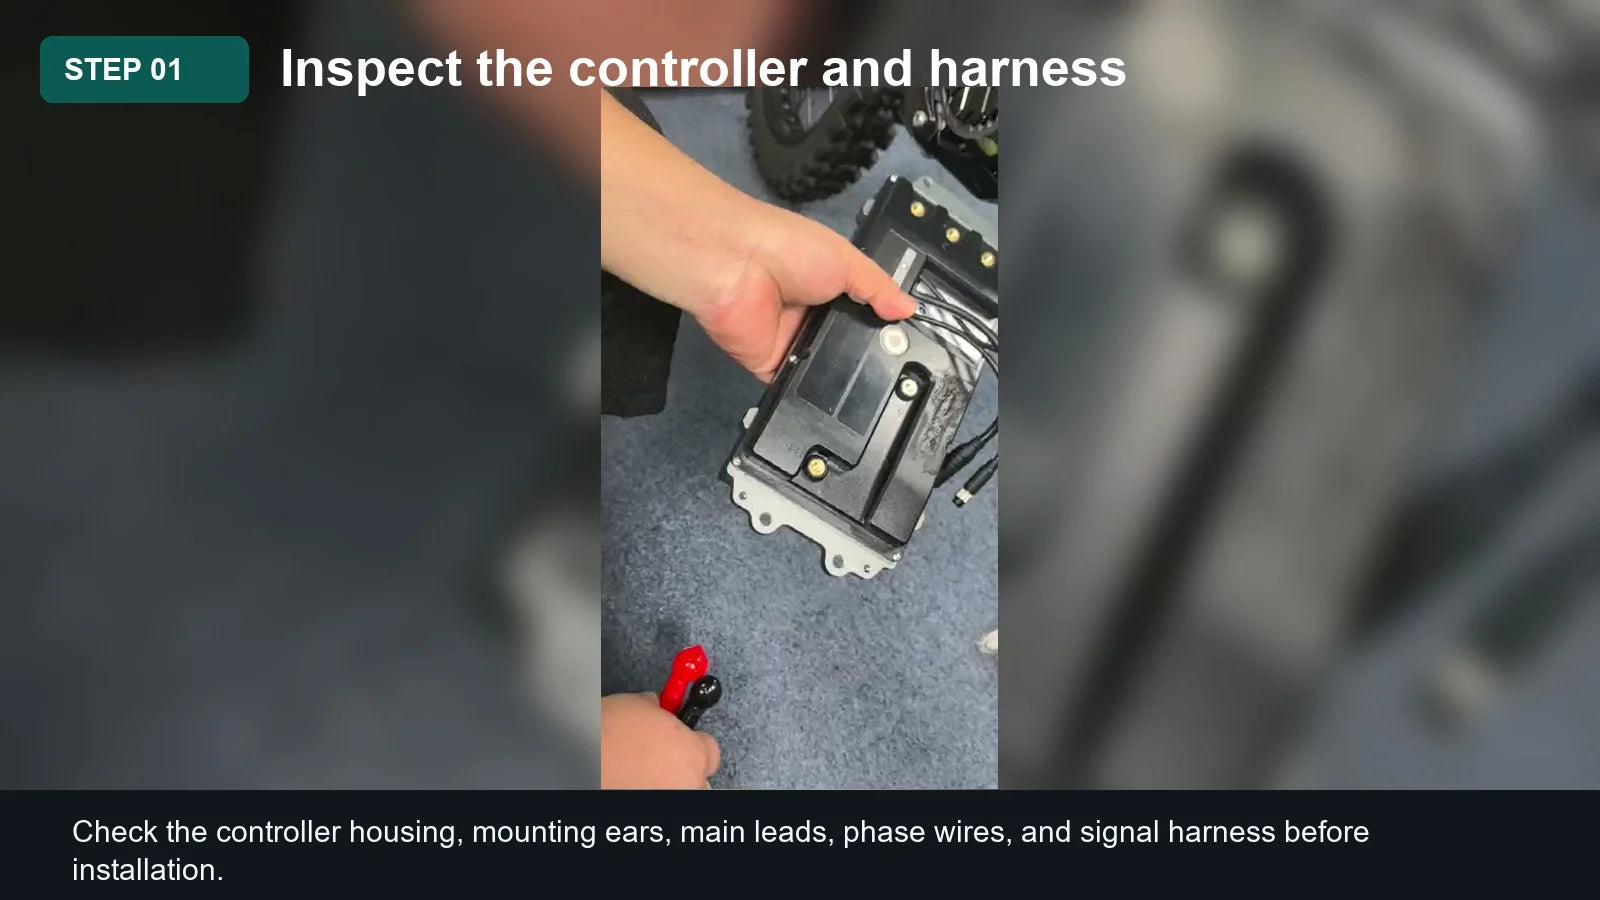
Place the controller on a clean surface and inspect the housing, mounting points, power leads, phase wires, and signal plug. Do not install a controller with damaged insulation or bent terminals.
Step 02. Pre-route the main leads and phase wires
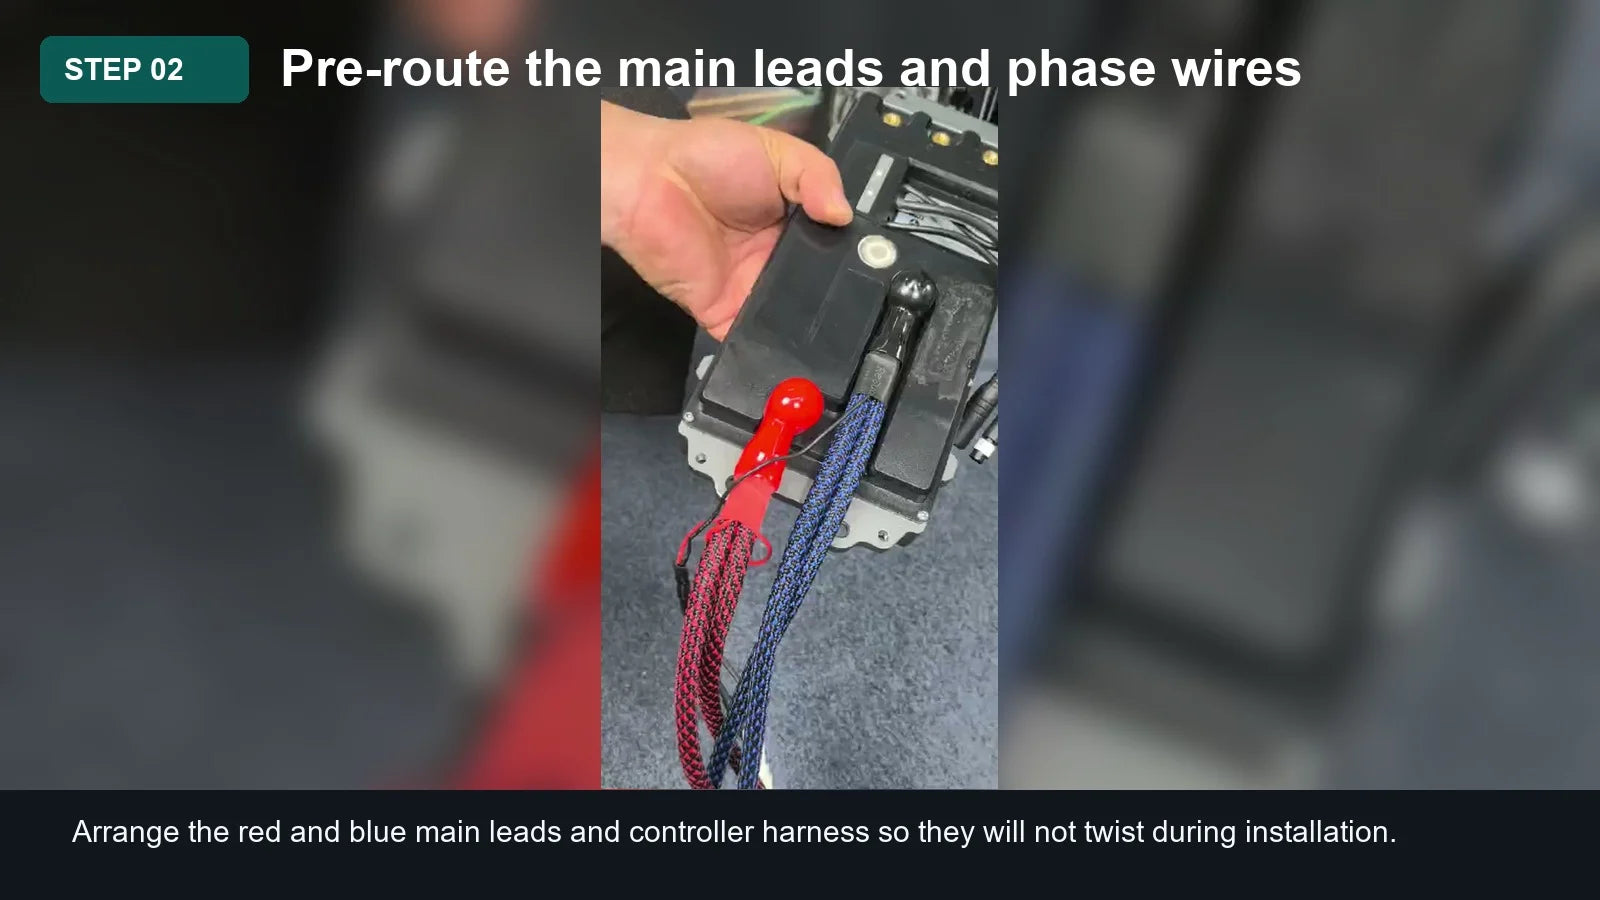
Before lifting the controller into place, organize the cable direction. This reduces twisting and makes it easier to connect the phase wires without pulling on the terminals.
Step 03. Move the controller into the mounting position
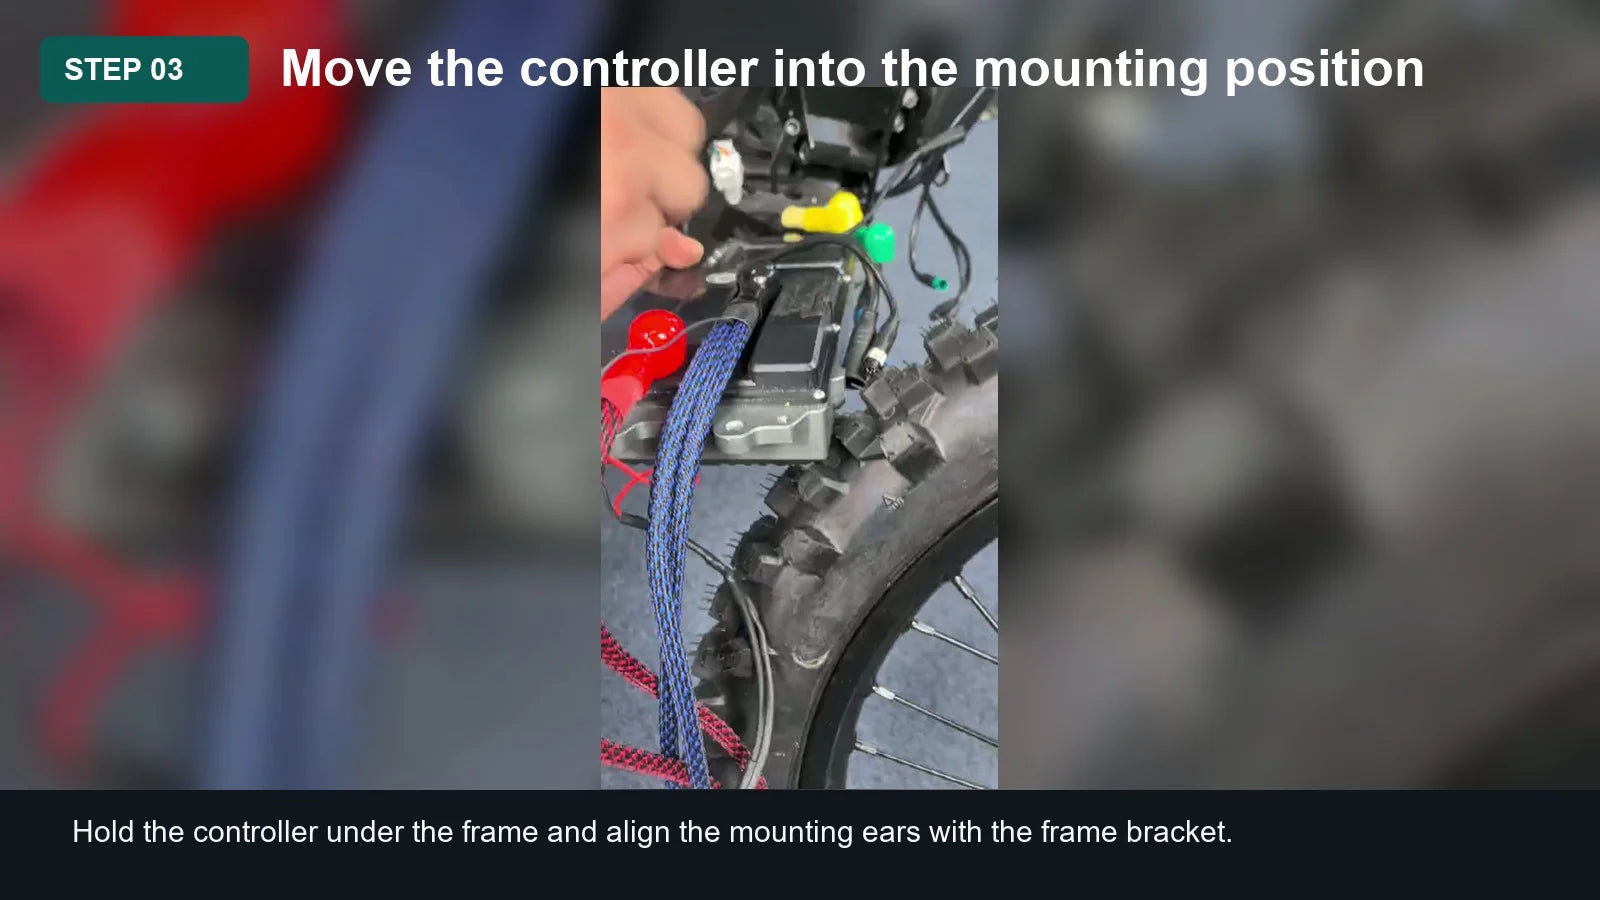
Position the controller against the frame bracket. Keep one hand supporting the controller body until at least one mounting point is started by hand.
Step 04. Connect the yellow, green, and blue phase wires
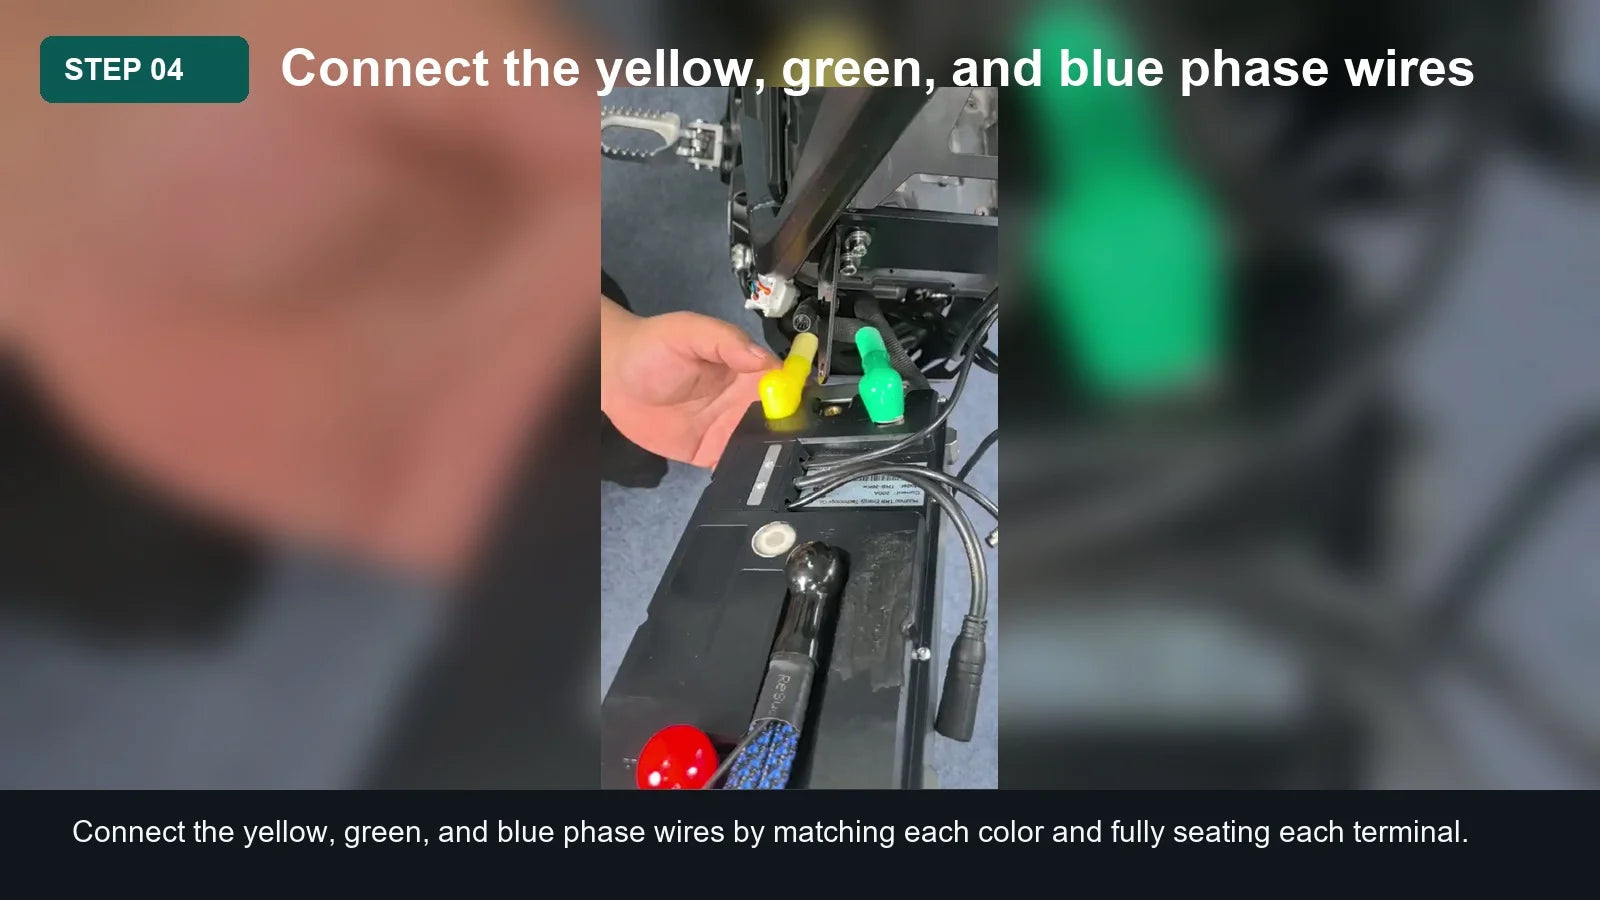
Join the phase wires color to color. The connectors should slide together firmly and the insulating boots should cover the metal contacts after connection.
Step 05. Connect the remaining phase and signal plugs
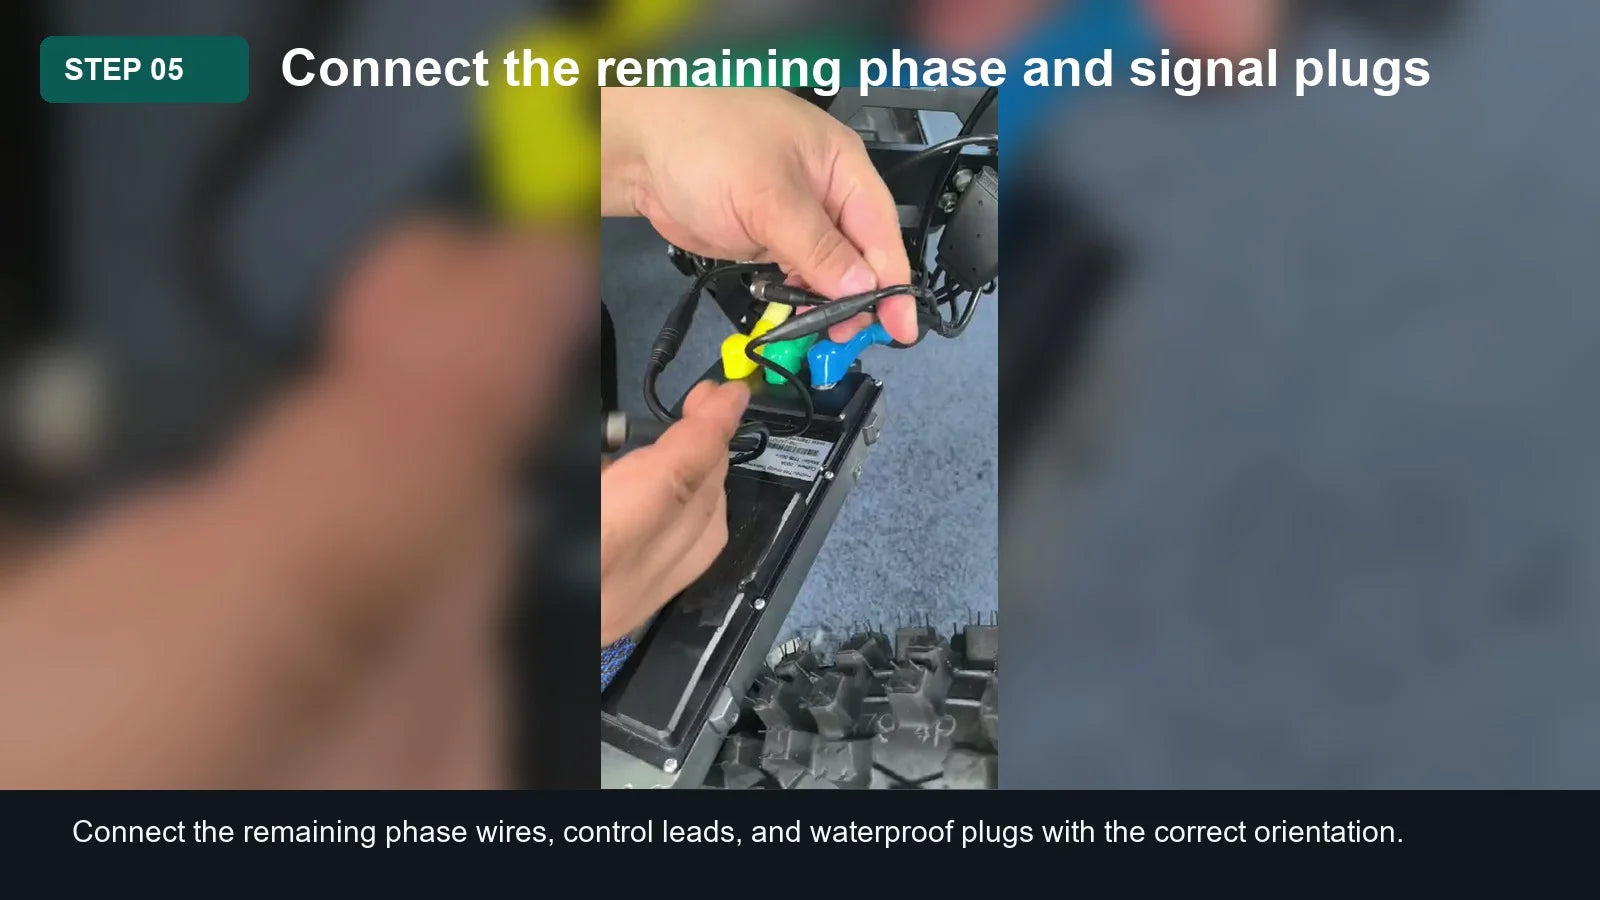
Finish the remaining controller connections. Align keyed plugs carefully and tighten waterproof locking rings only after the plug is fully seated.
Step 06. Organize the controller-side harness
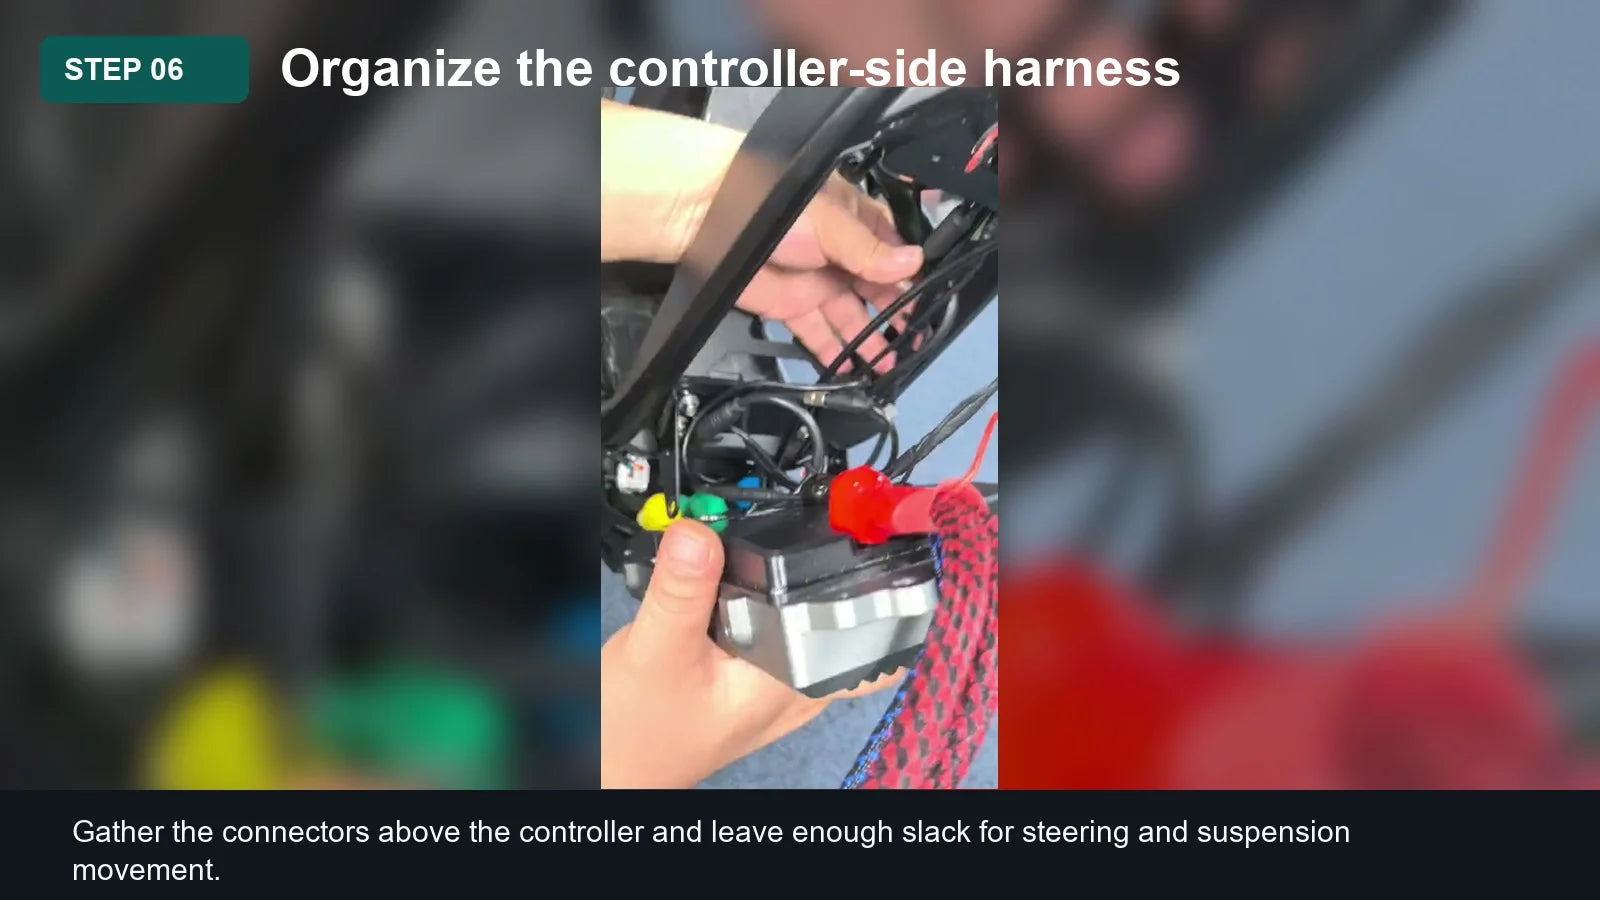
Bundle the harness neatly without stretching it. Keep connectors away from sharp frame edges, the rear wheel, and any part that moves during suspension travel.
Step 07. Check the controller body position
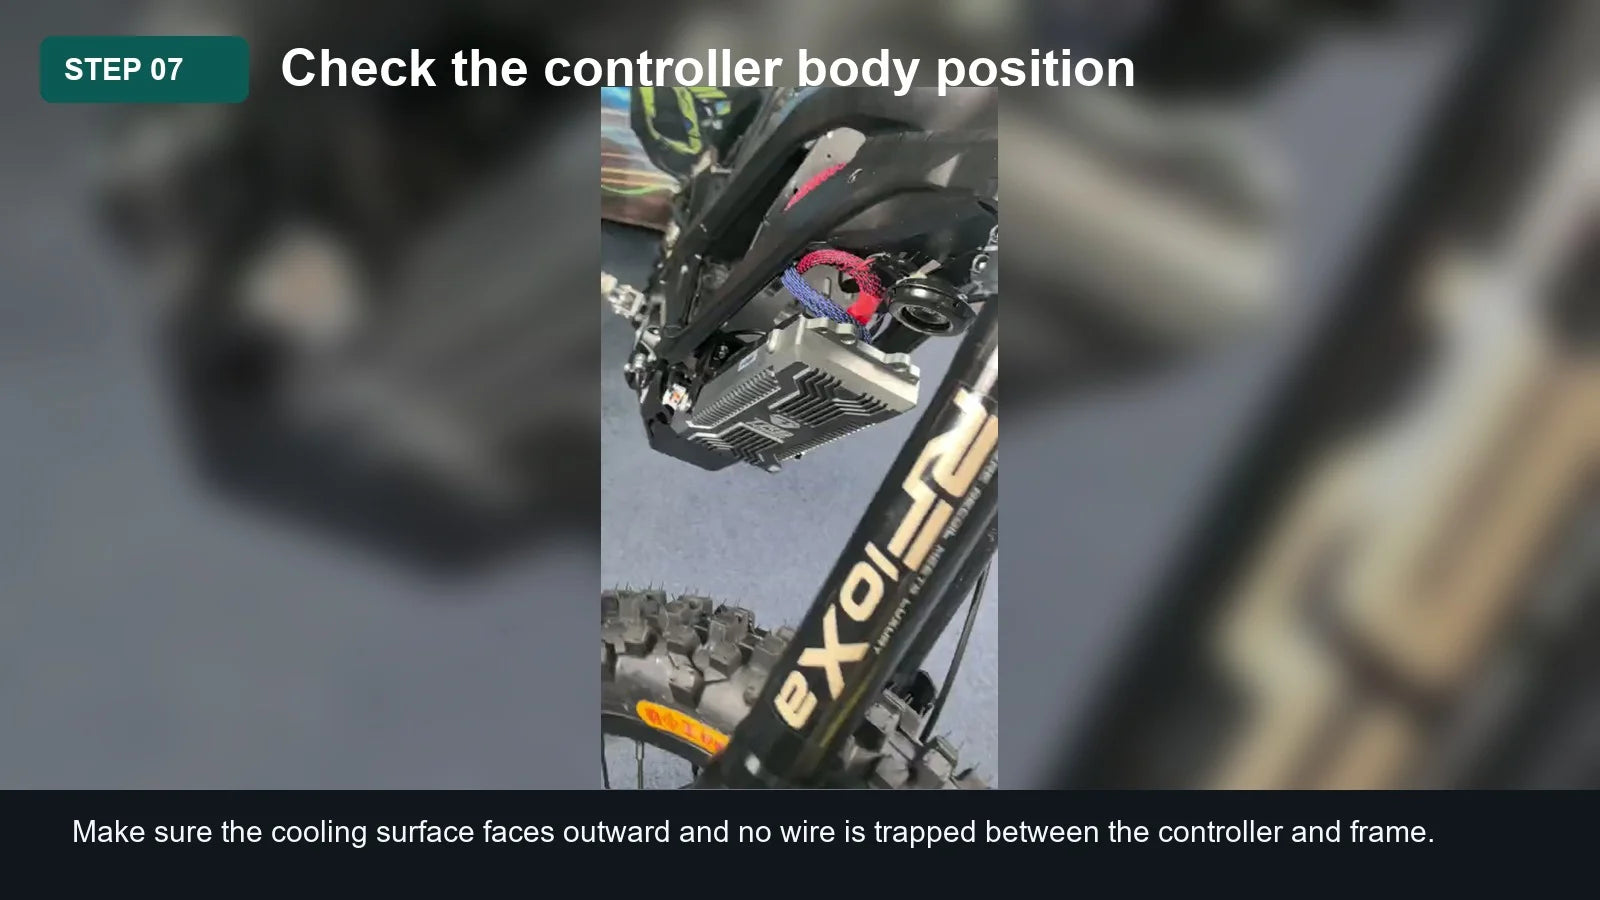
Before tightening the controller, confirm that the body sits flat against its mount. No wire should be trapped behind the controller housing.
Step 08. Route the main leads into the frame or battery compartment
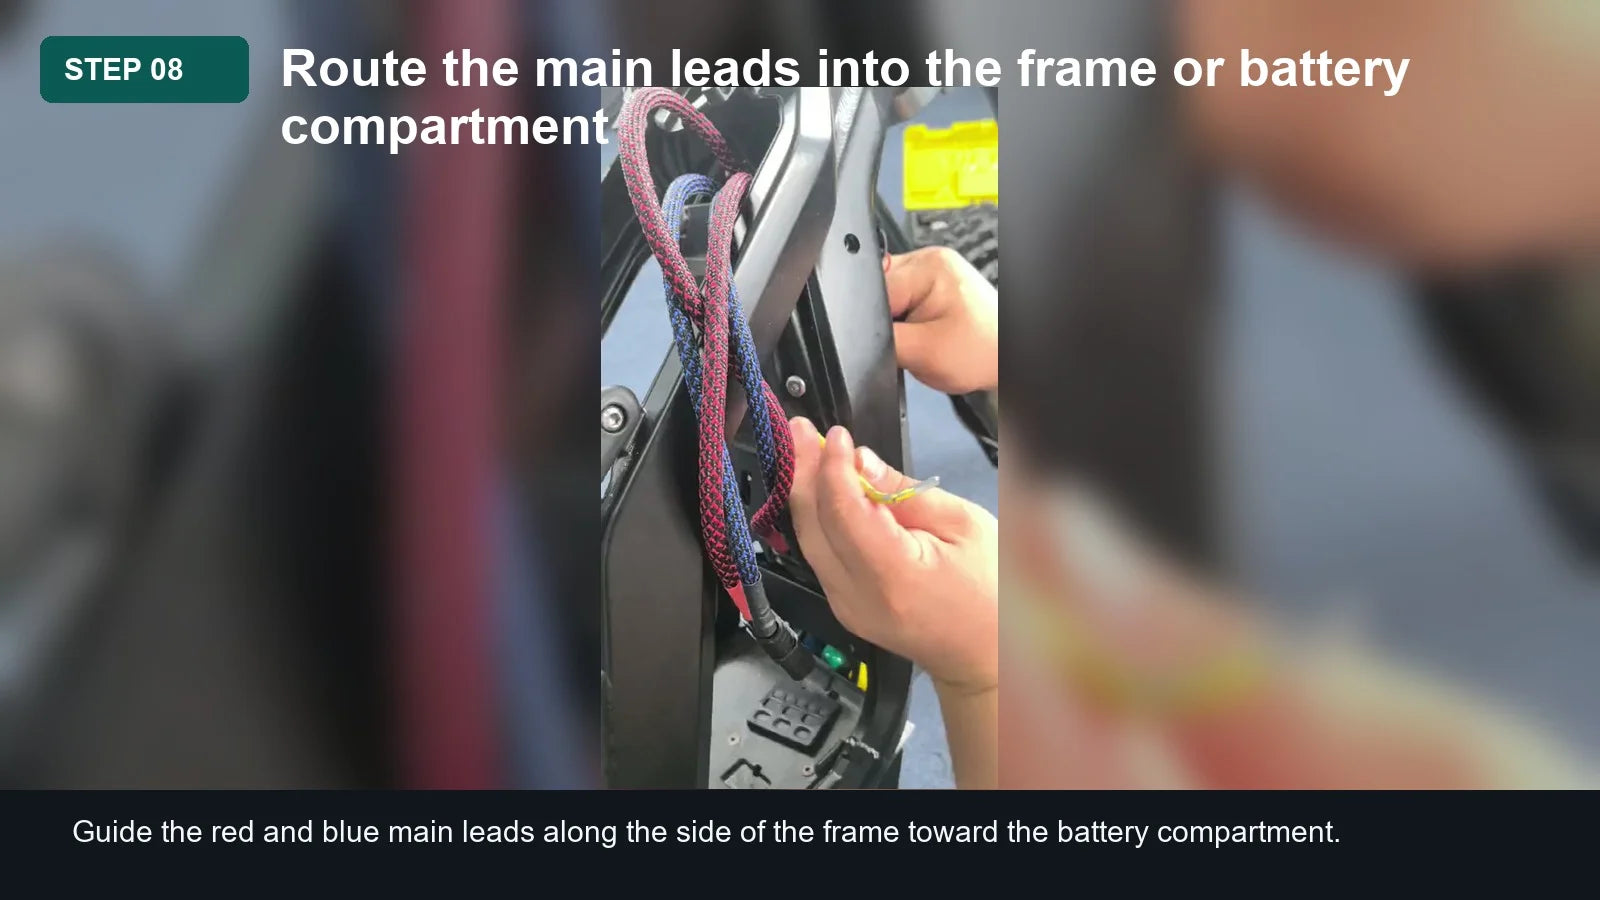
Route the main power leads along a protected path. Use the original cable path where possible and avoid tight bends near the connector boots.
Step 09. Reinstall the side panel and secure the harness
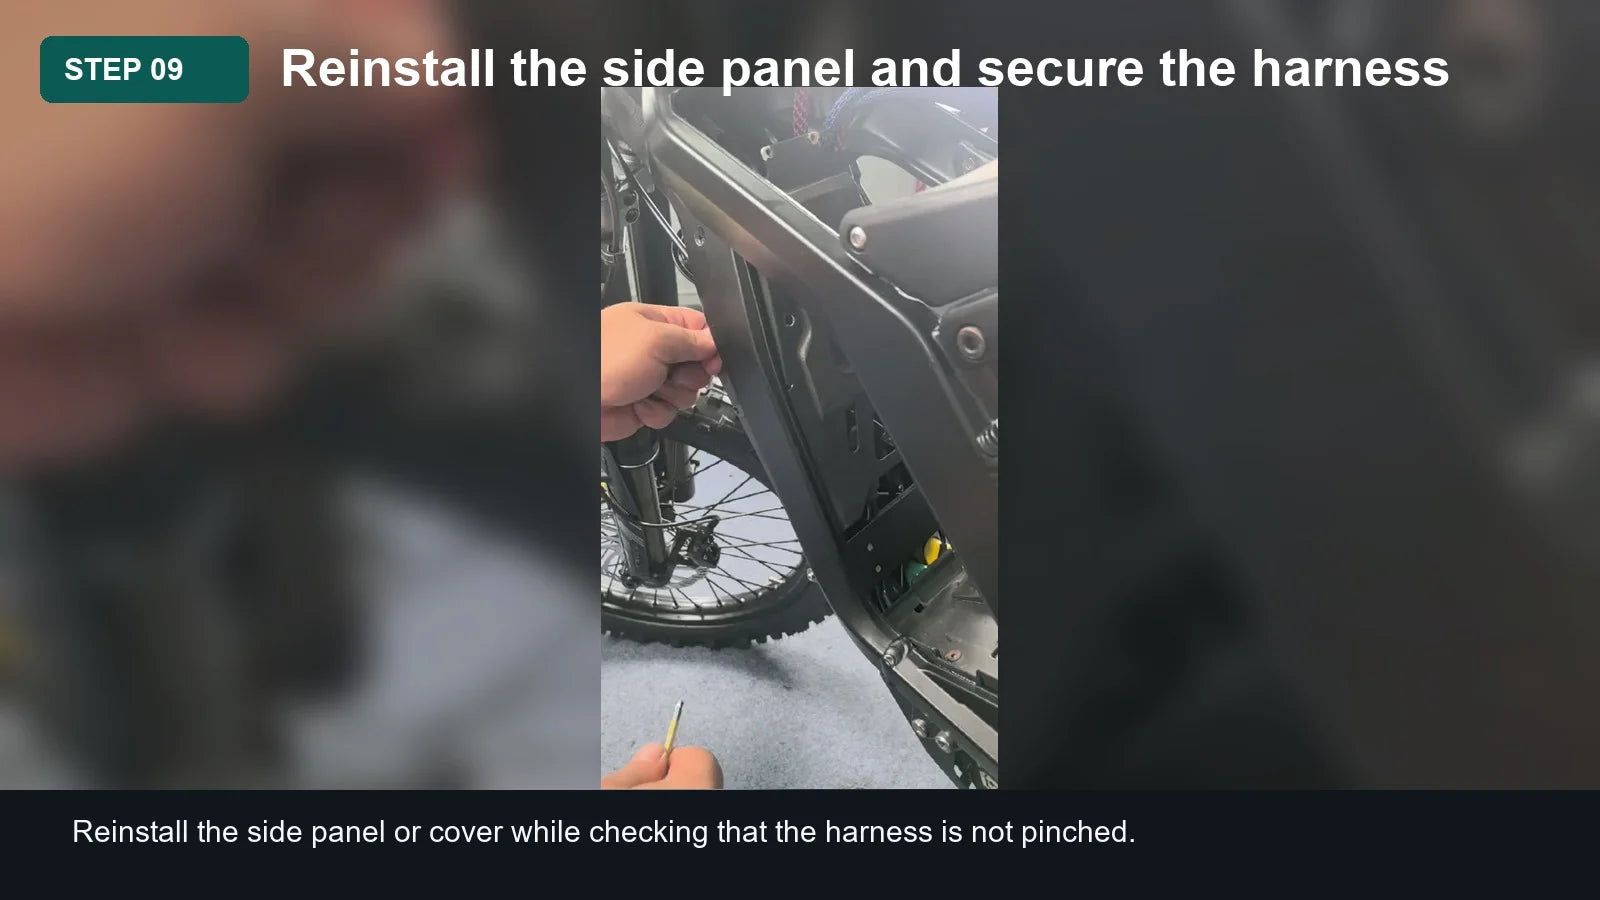
Fit the side panel slowly and watch the cable path while tightening the screws. If the panel presses on a connector, reopen it and adjust the harness.
Step 10. Tighten the final controller mounting screws
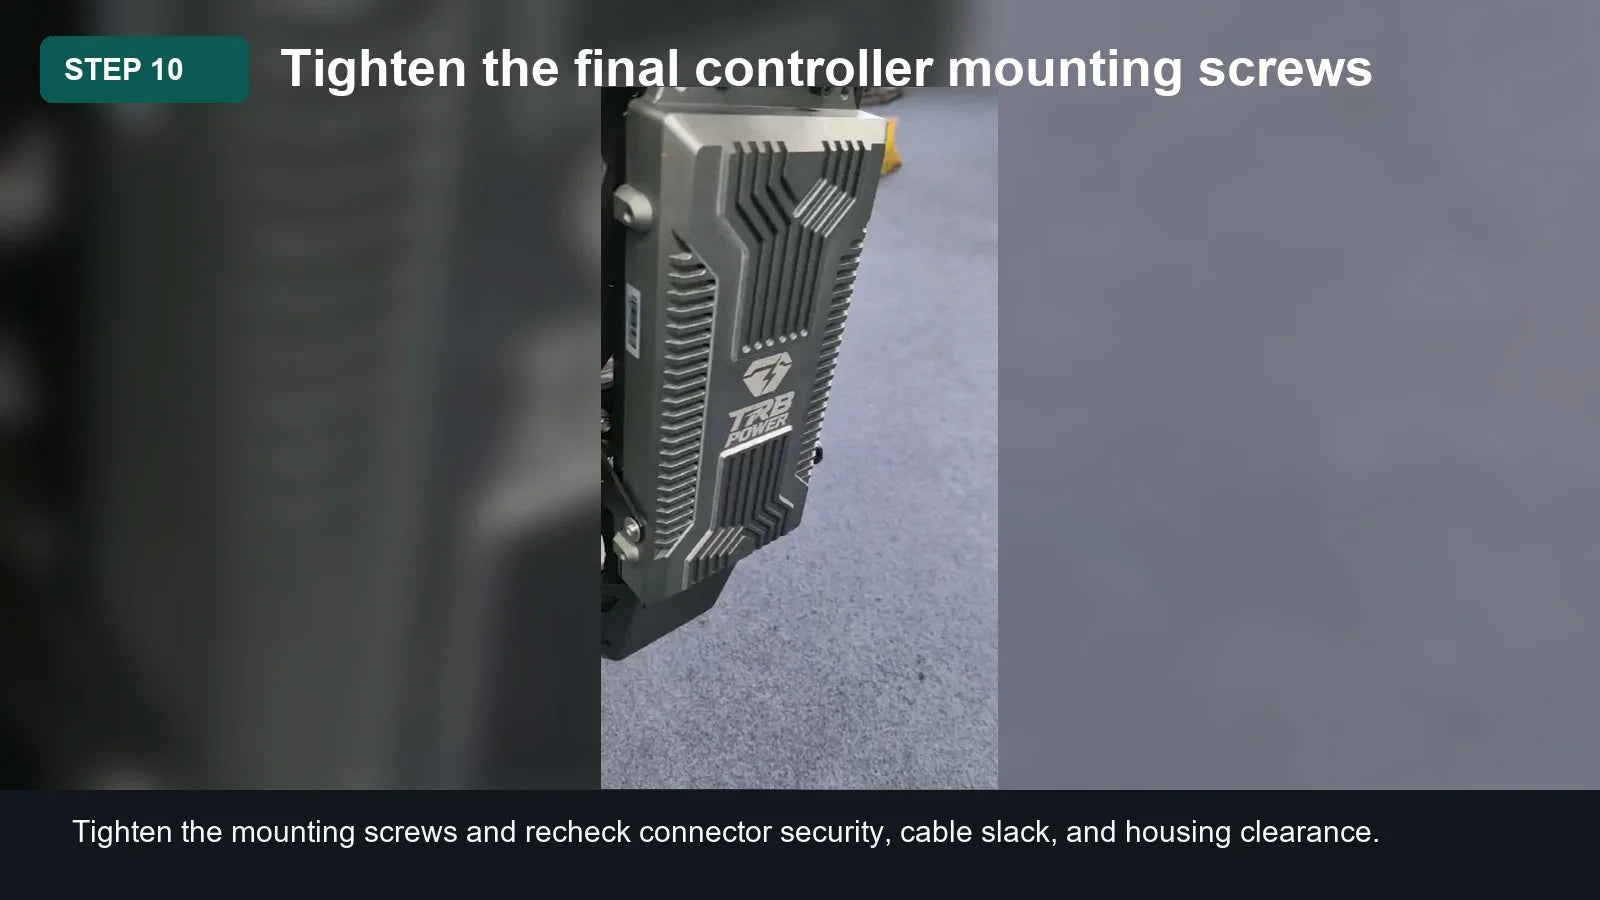
Finish tightening the controller mounting screws. Check the phase wires, signal plugs, power leads, and cover clearance before reconnecting the battery.
Post-Installation Checks
- Confirm the controller sits flat against the mount and all mounting screws are secure.
- Confirm yellow, green, and blue phase wires are matched by color and fully seated.
- Confirm waterproof signal connectors are aligned and locked.
- Check that the harness is not trapped under the controller body or side panel.
- Reconnect the battery only after all connectors and cable routes have been inspected.
FAQ
Can I power on the bike before reinstalling the cover?
Only test after all connectors are seated and the harness is protected from shorting or rubbing. Keep the bike stable and stop immediately if anything abnormal happens.
What if the controller does not sit flat?
Do not force the mounting screws. Recheck the cable route and make sure no wire is trapped between the controller and frame.
Can the phase wires be connected in a different order?
No. Match the visible color-coded phase wires and follow the controller kit instructions.


